well, the longbow project is on the backburner. So to are the essays on mathematically modelling bows based on bend tests.
It's all good though, as they were put on the backburner to finish these:
http://forums.armourarchive.org/phpBB2/ ... p?t=110205
But back to the good stuff.
I've been asked to make some bows as a display at an event. I agreed. I thought that it might be nicer for the public to see bows being finish tillered, rather than the whole process. To facilitate this, I'll be 'mostly-pre-making' a few bows to take along that I can just scrape a little bit, apply a finish and be done.
I'll also take a couple of bows at various stages of completion to show people what the dealio is along the way. I thought it might be nice to how the process here as well.
When you've made quite a lot of bows, you get to know just how much you can take off before getting worried about ruining it. Having a steady hand on the bandsaw helps a lot too. More than that, having a program that lets you print the profiles exactly is a big bonus too. Note to beginners: learning the hard way and the long way is the best way. I trod your path, as did your other bowyer forbears. Don't think too hard about programs and printing and whatnot. Just try to make good bows and learn from them.
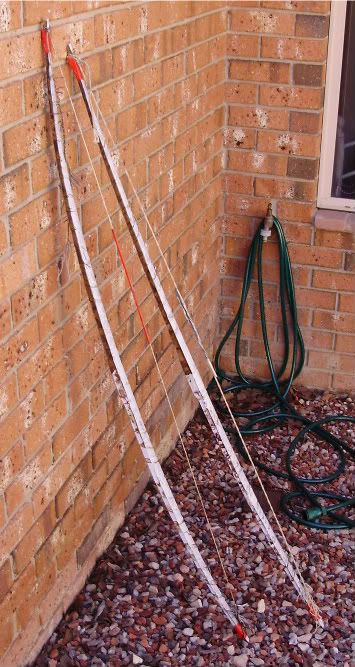
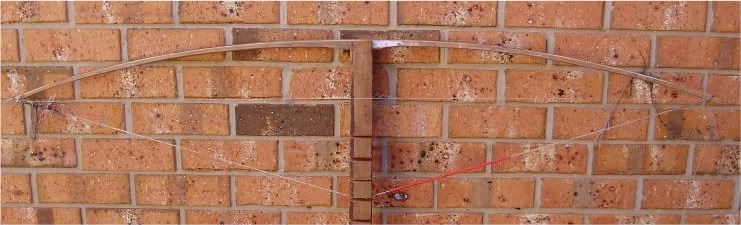
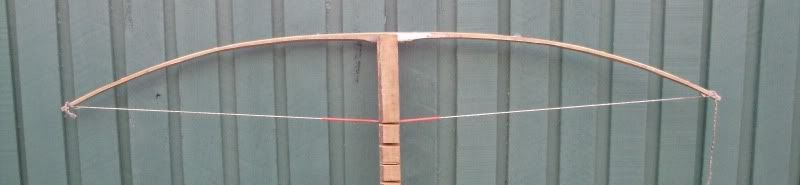
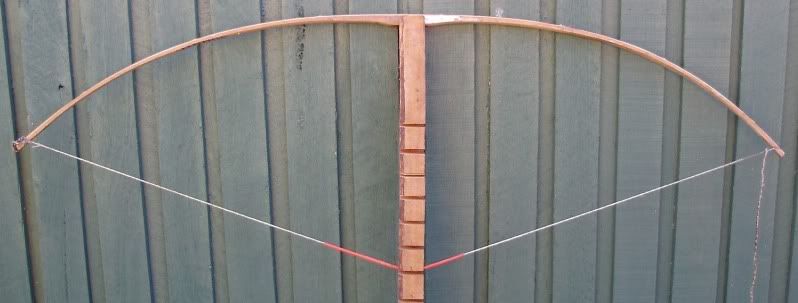
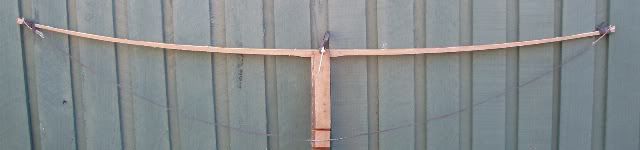
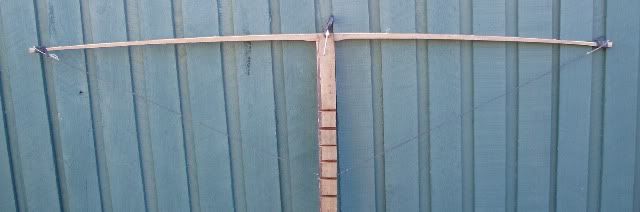
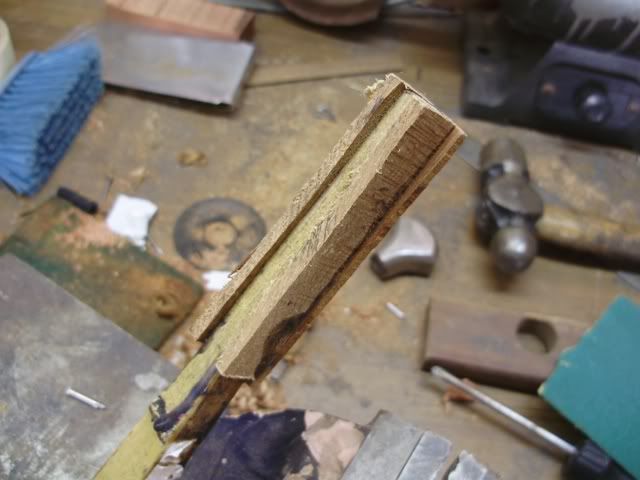
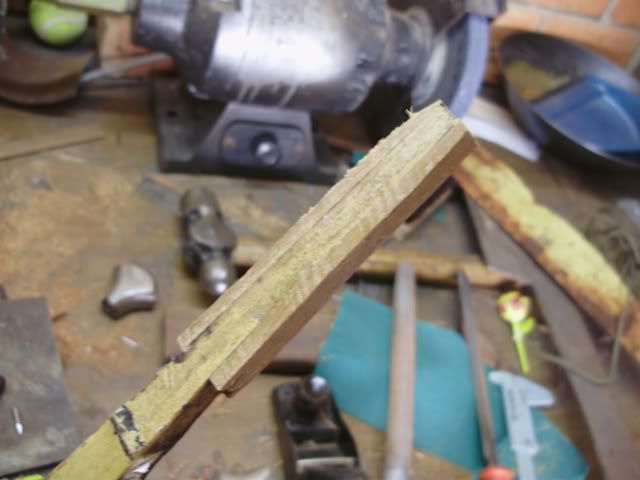
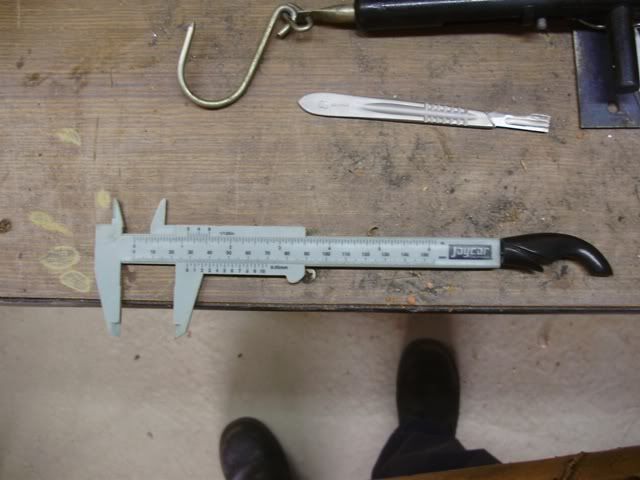
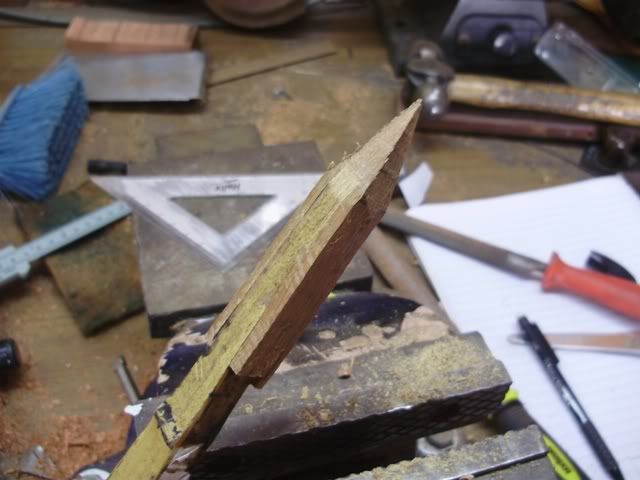
What I did here was do a bend test on a sample of spotted gum, punch the results into my nifty spreadsheet and got a bunch of dimensions. Then I printed out the front and side view profiles of the bow's width/thickness and glued them on. Then, very carefully on my bandsaw, I cut them out. Two of them. Stright off the bandsaw, with no tillering whatsoever, this is what they look like with the tips bent 130mm, which is not much less than what I like for brace height:
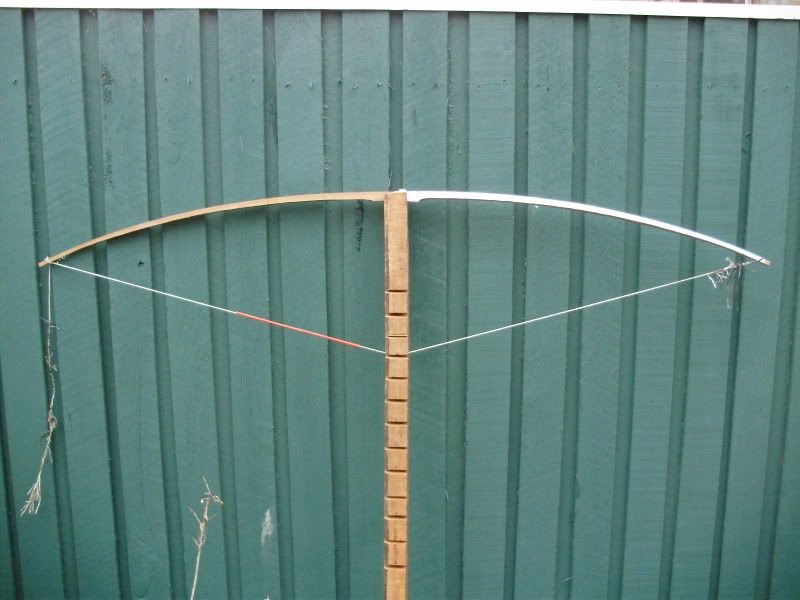
Pretty good I think. The limb on the left is just a hair's thickness too stiff. Other than that they're ready for the short string tiller. That is, if they were to be unbacked. These two will be boo backed. That means, they are in pretty much perfect shape to apply the backing.
For the two bows so far, I've invested 2 1/2 hours time, total. I might get away with 10hrs for the both of them, completed.
More progress coming soon.
Dave