OK - I know I was doing an osage bow, but I have been waiting for the sinew to arrive to back it - as a few cracks appeared on the back. No sinew yet and might use some linen thread instead and do it the same way as for sinew.
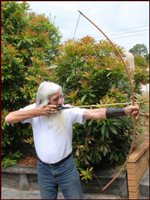
To while away the time - and also because I'll be in the US for the opening of their whitetail bow season and have been invited to a couple of properties I decided to see if I couldn't make up a takedown to go with me (cue roll of the eyes of the Leader of the Opposition and Baggage Supervisor).
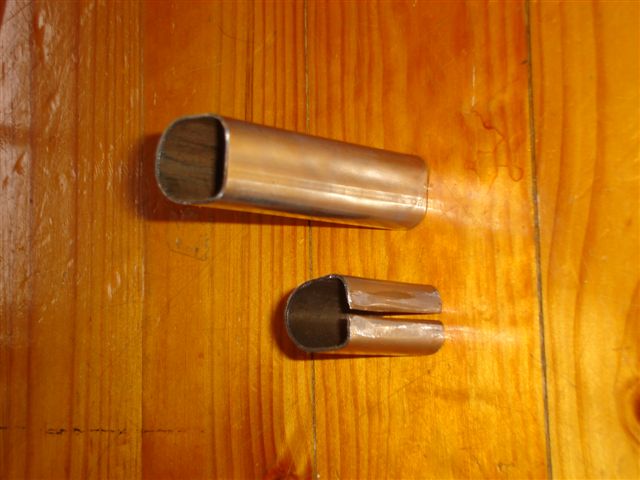
Every component is largely from scratch. The sleeve and socket is made from 31mm diameter steel pipe from Bunnings. To make the inner socket I measured 2" along the pipe. I then made a cut down the pipe for a little over the 2" distance. I then went down the cut with an angle grinder. I then sawed the 2" length off. Why this way? Its a lot easier (and safer) cutting the kerf when the length is still attached to the rest of the pipe). Trial and error told me that one. Particularly the error.
- sleeve1.JPG (55.25 KiB) Viewed 2590 times
I then cut the 4" length which will be the outer sleeve. Did some tidying up with a file and then put a hose clamp around the 2" length (in the middle) and heated on a gas stove. Turned the screw and it sizes nicely - and you can test it as you go. Then applied some percussive engineering to flatten one side (which is the back) and used the vice to get the other end more rounded. This was all a bit fiddley - and the components do fit snugger now than in the photos.
- sleeve2.JPG (58.82 KiB) Viewed 2590 times
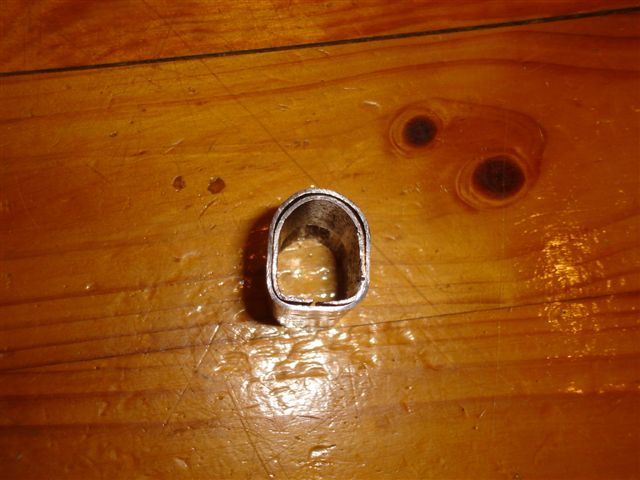
Some schools of thought suggest welding the kerf closed. I have not - and this is because as I thin out the socket part of the handle I can get the snuggest possible fit before applying the epoxy and glueing it all together.

- sleeve3.JPG (57 KiB) Viewed 2587 times

- sleeve4.JPG (55.49 KiB) Viewed 2585 times
The bow itself is a core of spotted gum - 4x1.5mm lams. I plan to put bamboo on the back and the belly with the nodes internocking - this is the idea that Greybeard put up a couple of years back (and thanks Daryl for the continuous encouragement and ideas. The bamboo will taper 3mm down to 1mm and follow the width taper.
Currently the limbs are just under 1 1/2" wide at the fades, with that continuing a further 5" and then a width taper down to 5/8" at the tips. Tip overlay is red ironbark and those are going on the back before the bamboo.

- corelams.JPG (87.04 KiB) Viewed 2587 times
Riser section - due to the length of the bow, which is 59 1/2 ntn or thereabouts, you need as much working handle as you can get. The handle itself is 4" and there are 3" of fades either side - so 10". 11" would have been better but I actually had a moment of brain flatulence - but we'll work with what we have. I've glued the thing up progressively on a form I made. The ute makes a good hotbox.
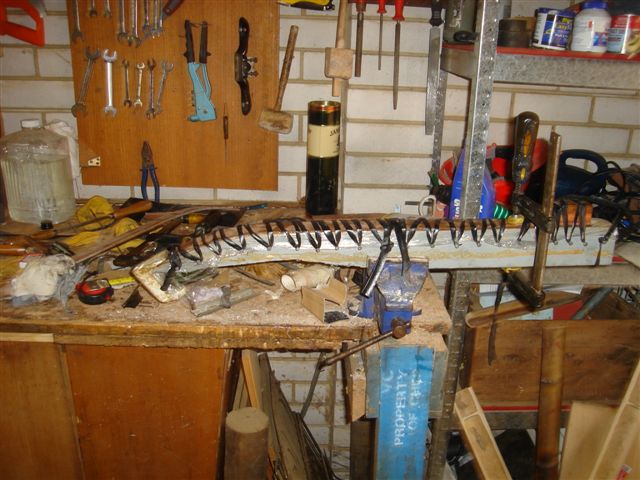
- on form.JPG (82.42 KiB) Viewed 2582 times
- hotbox.JPG (67.82 KiB) Viewed 2580 times
Riser itself is sydney bluegum and spotted gum.

- out of form.JPG (104.13 KiB) Viewed 2578 times

- widthtaper.JPG (49.96 KiB) Viewed 2576 times
Any ideas/comments/suggestions would be gratefully received - this is my first attempt at a recurve (which I decided to do because of length restrictions) - so comments on dimensions etc would be very helpful.
I got a fair few ideas for the takedown assembly from TBB, the popular mechanics pdf "A Bow to Bring 'Em Down" which does plans for takedowns (even takedown longbows with a length of 54"!) and a great article sent to me by Daryl.