Flu-Flu Buildalong (Pic Heavy)
Posted: Sun Oct 26, 2008 12:23 pm
Hi guys and galls
Don't know if anyone wants this, but as i was building them anyway, thought i would take some progress shots of how i built my Flu-flus.
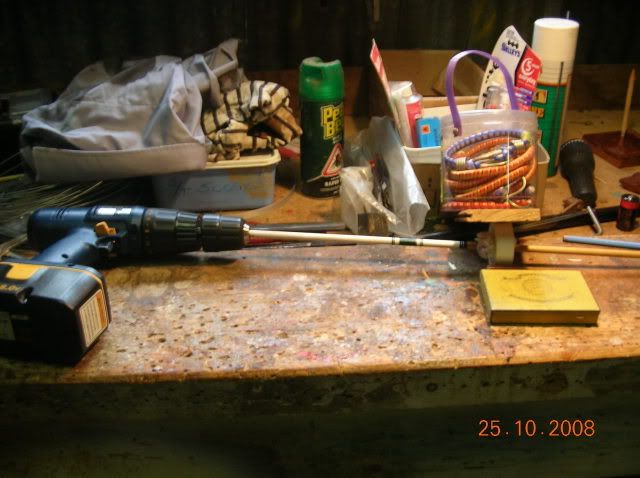
For these i used Victorian Ash Shafts from FORRO on this site. VA is really nice, bit heavier than POC, but much stronger.
First the shaft is cut down to length, before being tapered with a tapering tool, then sanded with fine grit sandpaper (i think i used 1200), and finally coated with a sealant. For the sealant i used some varnish which we had in our shed. Then after a couple of coats and leaving to dry for a long time (i do mine just before i go to school), paint can be added. Some people do 'dipping', but i prefer to spray mine.
Here's where were up to:
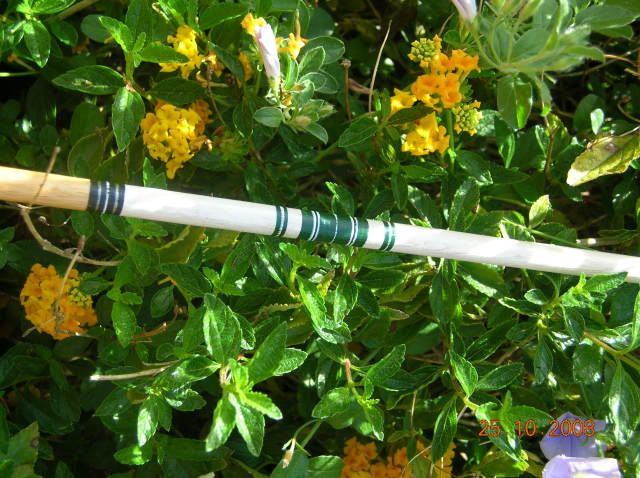
After this comes the cresting. This is an optional stage and lots of people prefer to just keep their arrows simple, however i usually do cresting as i like doing it and it makes the arrows look impressive, as well as adding a personal touch. For this i used citadel paints (they are very good!), a cordless drill for my lathe, and roll of tree-marking tape (the stuff that builders use to mark off areas and loppers use to mark trees) stuffed with a tissue. Very complex i know .
.
Here's the Jig.

And the finished cresting
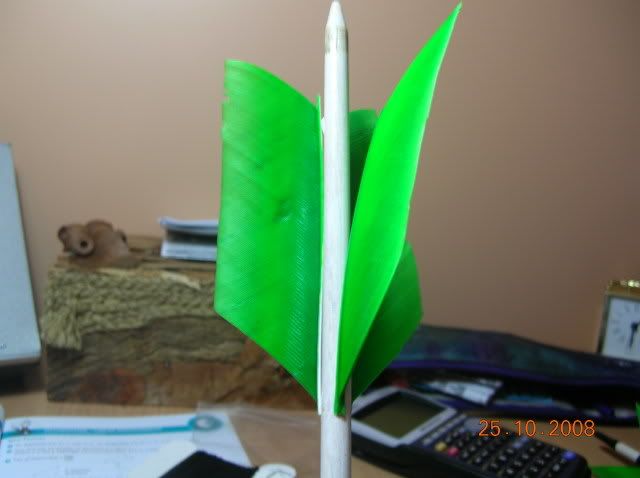
Next comes the fletching. I did not have a fletching jig at the time so i had to hand fletch it. With a bit of cheating .
.
First cut the leading and trailing edges of the feather about 3mm in, then put a dab of glue down at the leading edge of the feather on the shaft and hold the edge of the feather in it till it is holding, this is just to hold it for you until you get the binding on the leading edge of the feather, i used Fletch-Tite, however there are much better glues for this job, this was a real pain in the rear end. Also, i used a random full length feather that my brother had in his box, cut into two, i would advise the use of Trueflight as they're really nice.
Feathers cut and ready.

Glued on the shaft.
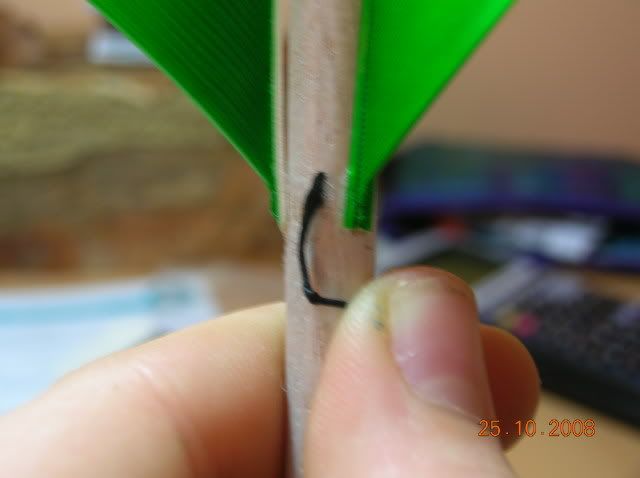
After this comes the Binding.
I used some upholstery thread as it is strong and waxy, however i have also used cotton and lots of other threads, basically anything works. Starting with a tree-hitch (i forgot the name of this knot?) you make a curve in the thread, before wrapping the binding back over itself. Once on the leading edge, make sure the feathers are straight and in the place where you want them. Then wrap the binding around the feathers, splitting them apart for each wrap. Once you get to the top, bind past the feathers and finish it off with a knot. I use a really basic modification of an hitch then an overhand with a bit of glue to help.
Starting the binding:
Working up:
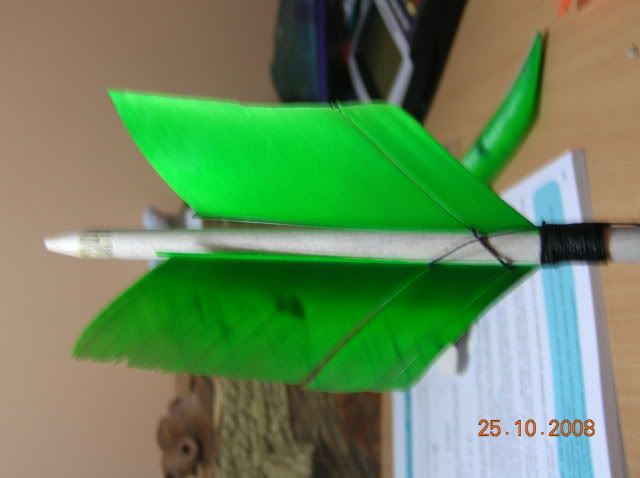
Finished:

After this, nocks and points are added with an epoxy (araldite 24 hour works really well), and then the arrow is finished.
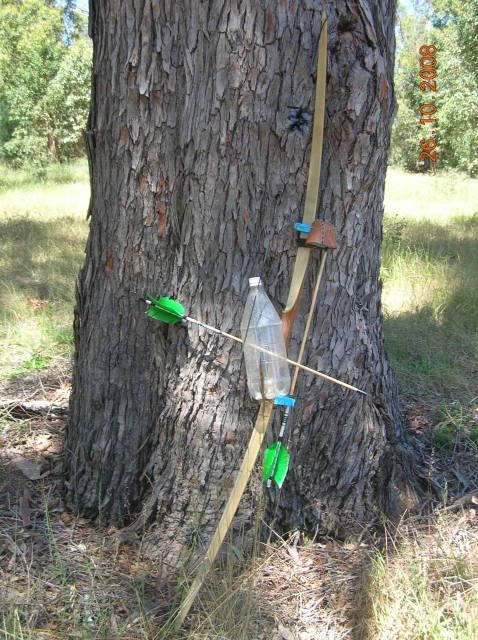
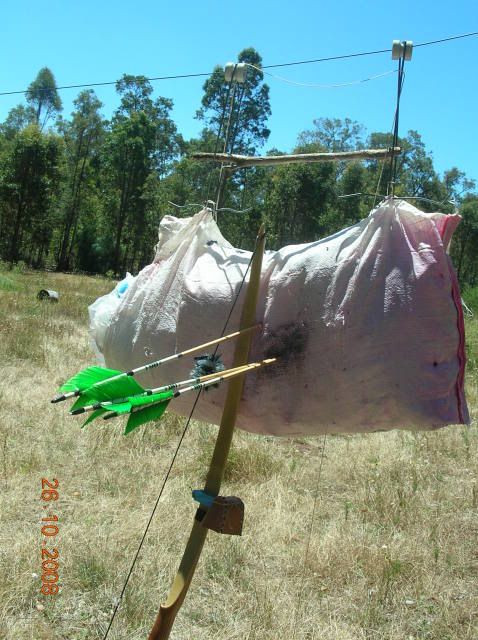
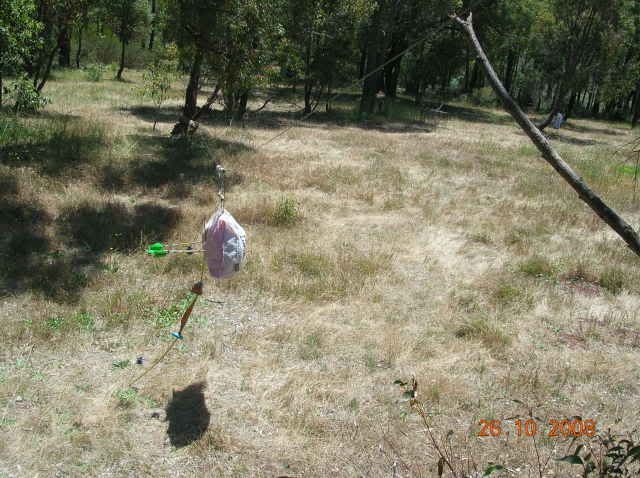
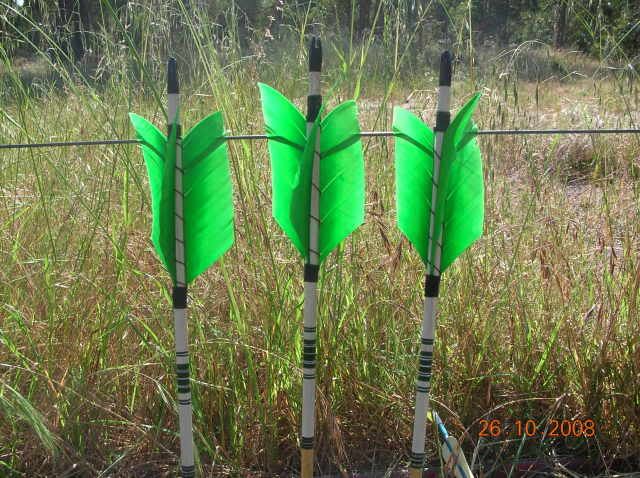
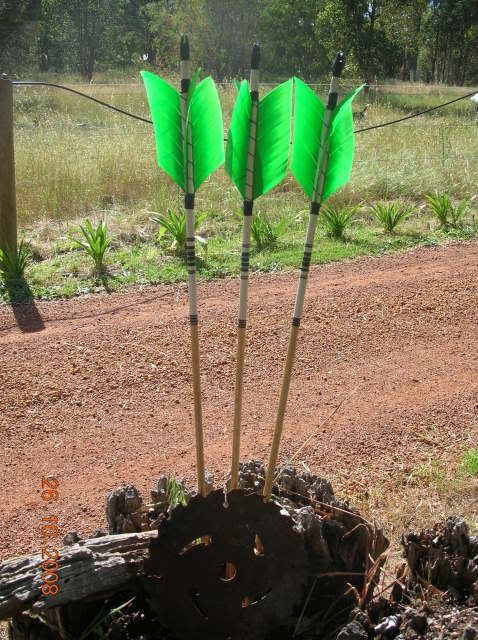
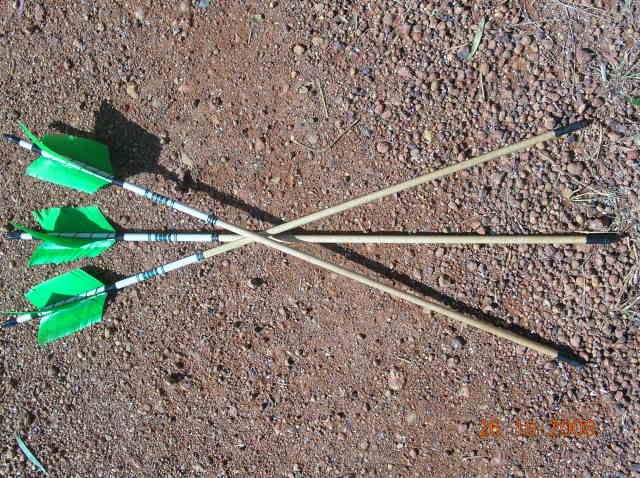
Now do this times three, six, or twelve
Finished pics:
Thanks, Carl
Don't know if anyone wants this, but as i was building them anyway, thought i would take some progress shots of how i built my Flu-flus.
For these i used Victorian Ash Shafts from FORRO on this site. VA is really nice, bit heavier than POC, but much stronger.
First the shaft is cut down to length, before being tapered with a tapering tool, then sanded with fine grit sandpaper (i think i used 1200), and finally coated with a sealant. For the sealant i used some varnish which we had in our shed. Then after a couple of coats and leaving to dry for a long time (i do mine just before i go to school), paint can be added. Some people do 'dipping', but i prefer to spray mine.
Here's where were up to:
After this comes the cresting. This is an optional stage and lots of people prefer to just keep their arrows simple, however i usually do cresting as i like doing it and it makes the arrows look impressive, as well as adding a personal touch. For this i used citadel paints (they are very good!), a cordless drill for my lathe, and roll of tree-marking tape (the stuff that builders use to mark off areas and loppers use to mark trees) stuffed with a tissue. Very complex i know
Here's the Jig.
And the finished cresting
Next comes the fletching. I did not have a fletching jig at the time so i had to hand fletch it. With a bit of cheating
First cut the leading and trailing edges of the feather about 3mm in, then put a dab of glue down at the leading edge of the feather on the shaft and hold the edge of the feather in it till it is holding, this is just to hold it for you until you get the binding on the leading edge of the feather, i used Fletch-Tite, however there are much better glues for this job, this was a real pain in the rear end. Also, i used a random full length feather that my brother had in his box, cut into two, i would advise the use of Trueflight as they're really nice.
Feathers cut and ready.
Glued on the shaft.
After this comes the Binding.
I used some upholstery thread as it is strong and waxy, however i have also used cotton and lots of other threads, basically anything works. Starting with a tree-hitch (i forgot the name of this knot?) you make a curve in the thread, before wrapping the binding back over itself. Once on the leading edge, make sure the feathers are straight and in the place where you want them. Then wrap the binding around the feathers, splitting them apart for each wrap. Once you get to the top, bind past the feathers and finish it off with a knot. I use a really basic modification of an hitch then an overhand with a bit of glue to help.
Starting the binding:
Working up:
Finished:
After this, nocks and points are added with an epoxy (araldite 24 hour works really well), and then the arrow is finished.
Now do this times three, six, or twelve
Finished pics:
Thanks, Carl